A County Hilltop Walk Planned Around the View
Plan a county hilltop walk around the view: choose a suitable public high point and use the horizon, settlement and landform to read the landscape.
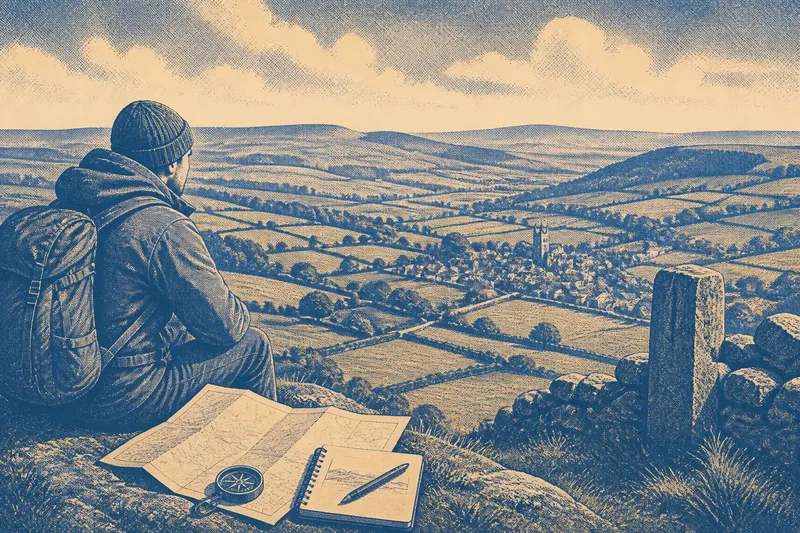
The common mistake on a county hilltop walk is choosing the highest-looking point without checking access or what can actually be seen from it. The cost is a walk that ends at a locked gate, a crowded summit or a bank of trees instead of a useful view. Choose a publicly accessible high point for the landscape it opens up, then let the horizon, settlements and landforms guide a slow look around.
Choose a viewpoint that suits the kind of reading you want to do
Start with an Ordnance Survey map, a council countryside page or a local access map, and check that the route reaches land open to the public. A hilltop may lie on private ground even when a footpath passes close by. Look for marked rights of way, public access land and a clear approach from a car park or village path.
Then compare what the contour lines and map symbols suggest. A rounded summit may give a broad view in several directions; a ridge may frame a long sweep along its crest; a churchyard knoll or village green may offer a lower but unusually clear view of nearby settlement. The best choice depends on the question you want the landscape to help answer.
- Choose a broad summit if you want to compare distant ridges and see how the county’s larger landforms meet.
- Choose a ridge path if you want a changing view as slopes, valleys and settlements appear and disappear along the route.
- Choose a modest local rise if nearby fields, lanes and building patterns matter more than a far-reaching panorama.
Check the route description for steep ground, exposed sections, gates and seasonal restrictions. Weather changes what a viewpoint can offer: low cloud hides distant features, while strong wind can make a long pause unpleasant. Bring a paper map or an offline map on your phone, and treat the route itself as part of the visit rather than a race to the top.
Let the horizon show the shape of the county
At the viewpoint, give your eyes time to settle before trying to identify individual places. Pick out the nearest skyline, then follow it across the view. Notice where a ridge rises, dips or breaks into a lower gap; those changes can suggest where a valley cuts through the high ground or where one landscape gives way to another.
A horizon is like the edge of a folded blanket: its outline hints at what is tucked behind it, but it does not show the whole surface. A distant notch may mark a pass or a river valley, while a smooth, level-looking line may be a far ridge softened by haze. Avoid naming a feature from shape alone; use a map bearing, a compass or a recognised landmark to check your reading.
Turn slowly through the view rather than trying to take it all in at once. Note which ridges run broadly parallel, where the land falls away, and whether the high ground seems continuous or divided into separate blocks. These observations help you describe the county’s relief without pretending that a single hilltop reveals every boundary or landform.
Read settlement as part of the terrain
Look next for villages, isolated buildings, roads and larger built-up areas. Ask where settlement gathers: along a valley floor, on a slope, near a crossing, or on a relatively level shelf. Then notice where it thins out. Steep ground, wet-looking lowland, woodland and broad fields can each influence where buildings and roads appear, though the view alone cannot explain why a particular place developed where it did.
Say you reach an open rise above a village and can see a compact group of roofs beside a stream, with a road climbing towards a saddle between two hills. You might note that the valley appears to gather movement while the higher slopes remain more lightly settled. Later, a map can help you check the stream, road and place names; the observation is a starting point, not proof of a local history.
Use a map to orient yourself, but do not let it replace looking. A printed map may show a lane hidden by trees, while a clear gap in the canopy may reveal a line of buildings that the map symbol cannot convey at a glance. Record approximate directions and relationships—“the village lies below the eastern ridge”—rather than filling your notes with uncertain names.
Which hilltop approach fits your visit?
Is a summit or a ridge walk better for seeing landforms?
A summit suits you if you want a stable place to compare several parts of the horizon. A ridge walk suits you if you want to watch the view change as the ground rises and falls, and you have time for a longer route.
Can a low hill offer a useful county view?
Yes, if it opens a clear view of a valley, settlement pattern or meeting of landforms that matters to your question. A lower, accessible rise may be more informative than a higher summit screened by trees or difficult to reach.
What should you bring to identify distant features?
Take a map that covers the area, a notebook and a compass or a map app that works without a signal. Binoculars can help distinguish a church tower or a gap in a ridge, but they are optional; first check that the feature’s direction matches the map.
How should you choose if the weather is uncertain?
Choose a shorter, lower route with an easy return rather than committing to exposed high ground. If cloud hides the horizon, turn the visit towards nearby slopes, field shapes and settlement edges instead of treating the conditions as a failed outing.
Make notes that preserve what you actually saw
Keep the notes selective. A quick sketch of the skyline, a few directional arrows and short descriptions of visible features can be more useful than a long list of guessed names. Separate what you observed from what you inferred, so later map reading or local records can refine your interpretation.
- Write down the viewpoint and the direction you faced.
- Describe the ridge or valley outline in plain words.
- Mark where settlement clusters and where it becomes sparse.
- Record visible roads, streams, woodland edges or field boundaries.
- Note cloud, haze or vegetation that limited the view.
Do not treat a photograph as a complete record: a wide camera lens can stretch distances and flatten the relationship between a village and the hills behind it. If you take pictures, include a recognisable foreground feature and note the direction. For access, route conditions and any restrictions, follow current local notices and the land manager’s instructions.
A county hilltop walk works best when the chosen viewpoint matches the question you bring to it. Choose a summit for a broad comparison, a ridge for changing perspectives, or a lower rise for a close reading of settlement and slope. On your next county hilltop walk, write down one relationship you can see clearly—such as a village tucked below a ridge—and one uncertainty to check on the map afterwards. That small distinction keeps observation useful without turning a view into an overconfident story.